
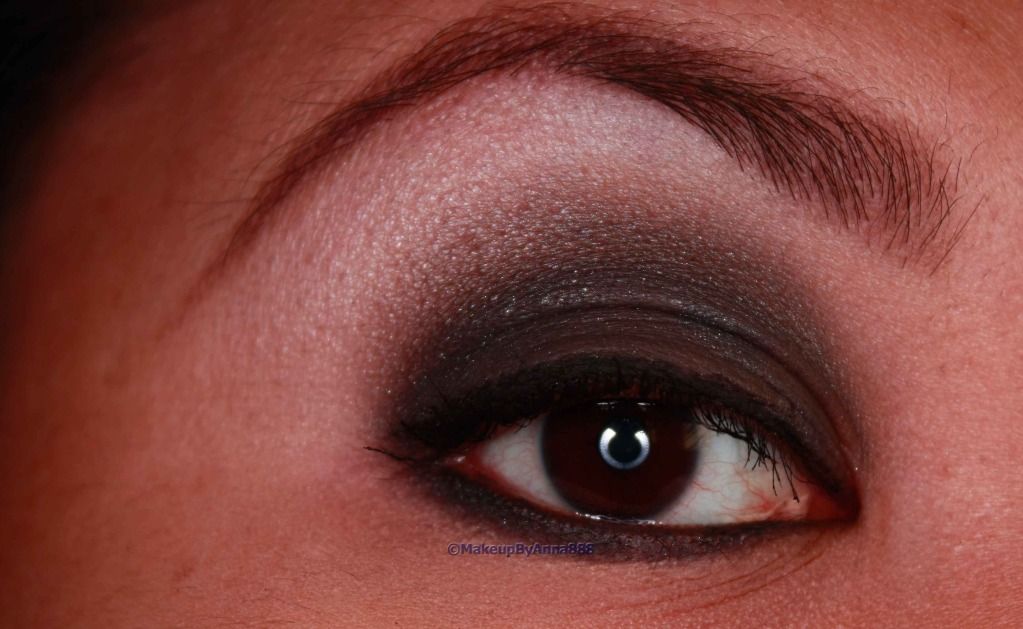
The classic smoky eye normally uses just one eyeshadow applied darkest at the lash line and blended upwards giving it a "smoky" effect. The gradient gives the illusion of using more than one color. Also, a smoky eye does not mean using only black or gray. This technique can be used in applying either dark (black, gray, brown, etc.) or bright, intense, vivid colors (red, orange, blue, green, yellow, pink, etc.). In this tutorial, I used a black eyeshadow because I love the drama. =P
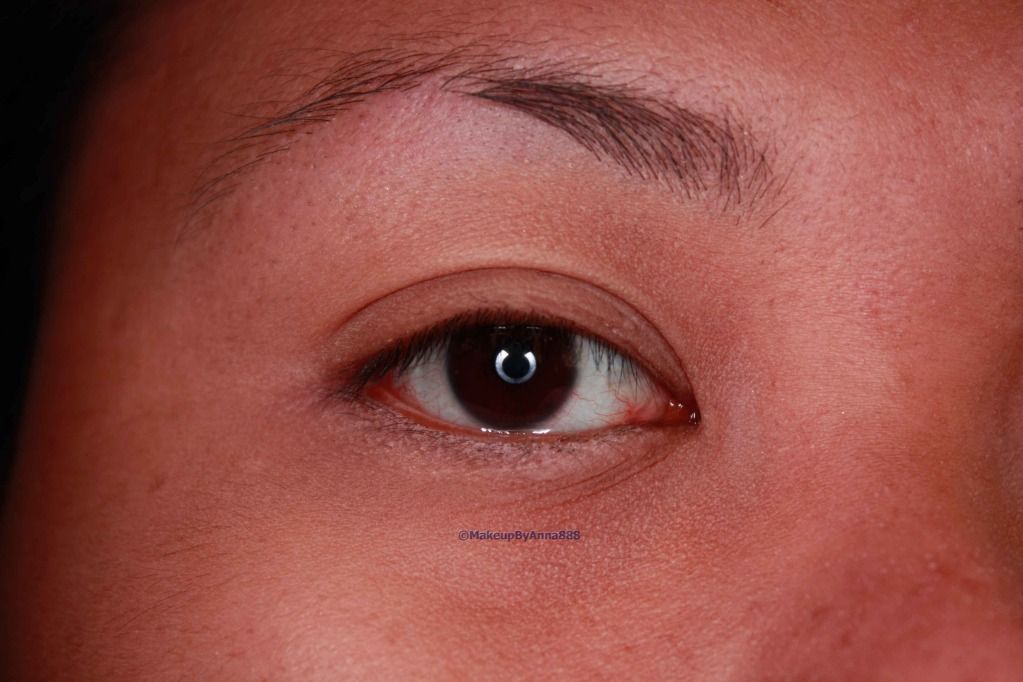
I started with a clean face. Skipped moisturizer and applied e.l.f. Mineral Infused Face Primer. Here I used my Dollface Concealer Palette as foundation. I also used an orange corrector and concealer on the under eye area from the same palette. Applied Urban Decay Primer Potion all over the lid up to the brow bone. Set everything except the lid to brow bone with Ellana HD powder.
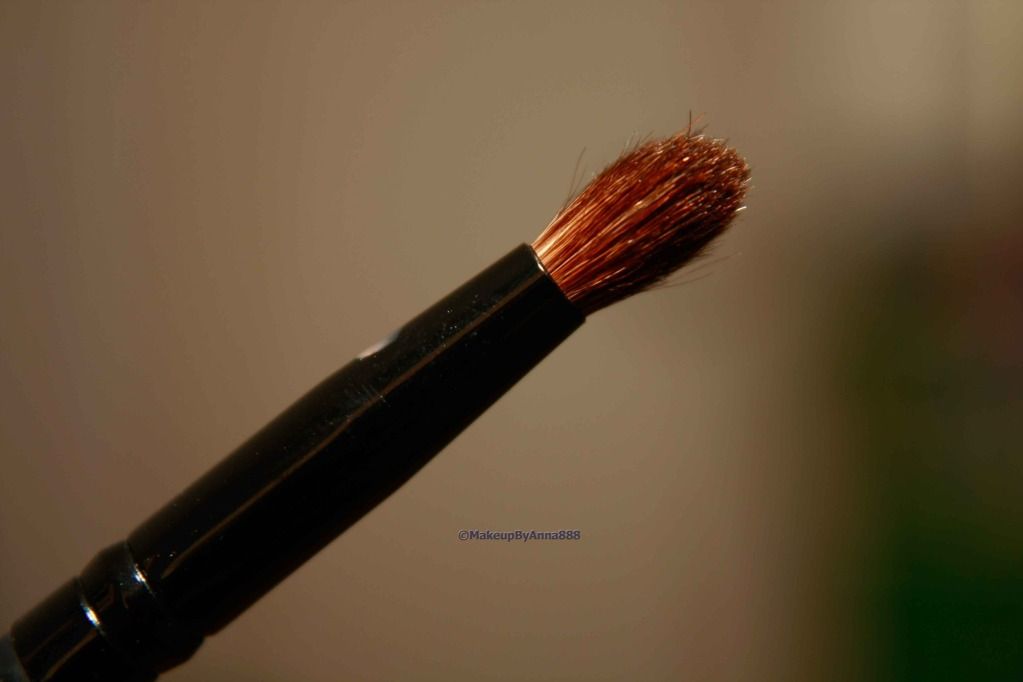
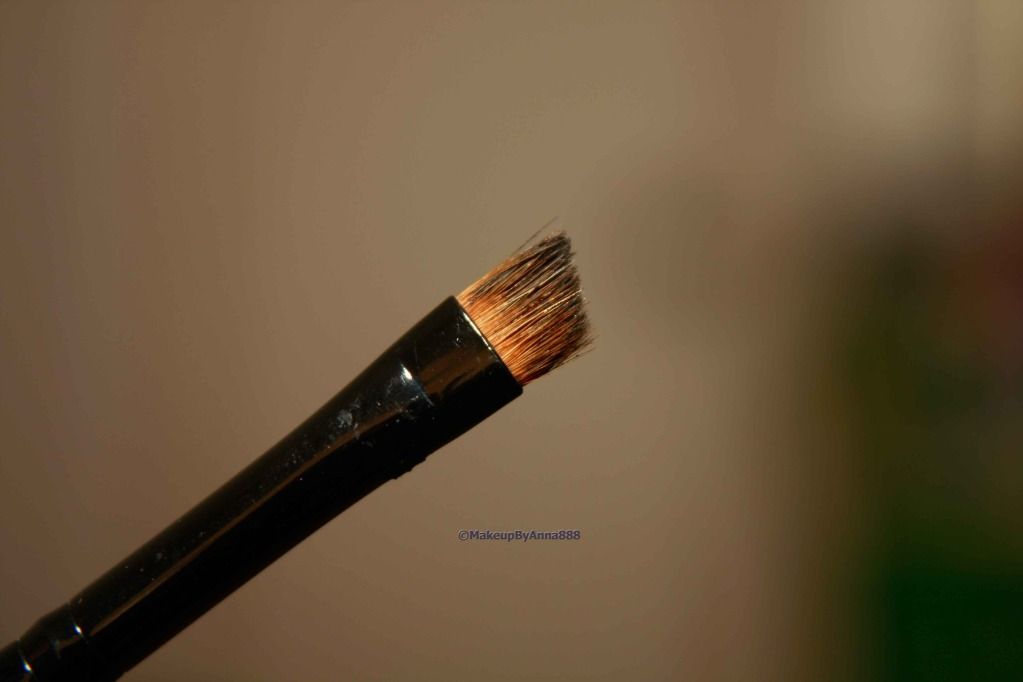
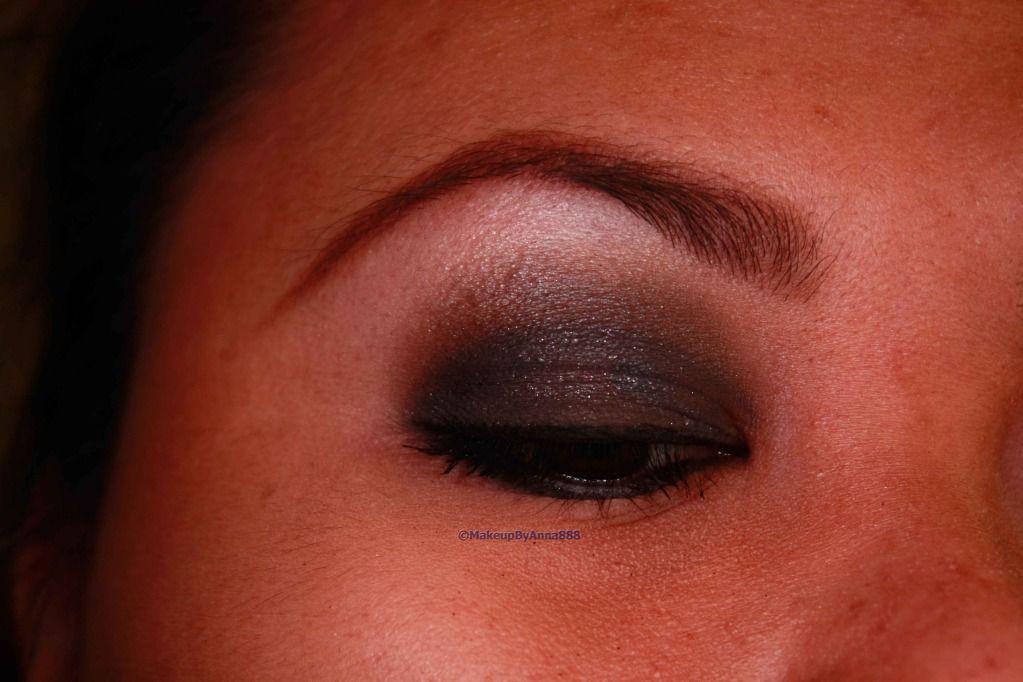
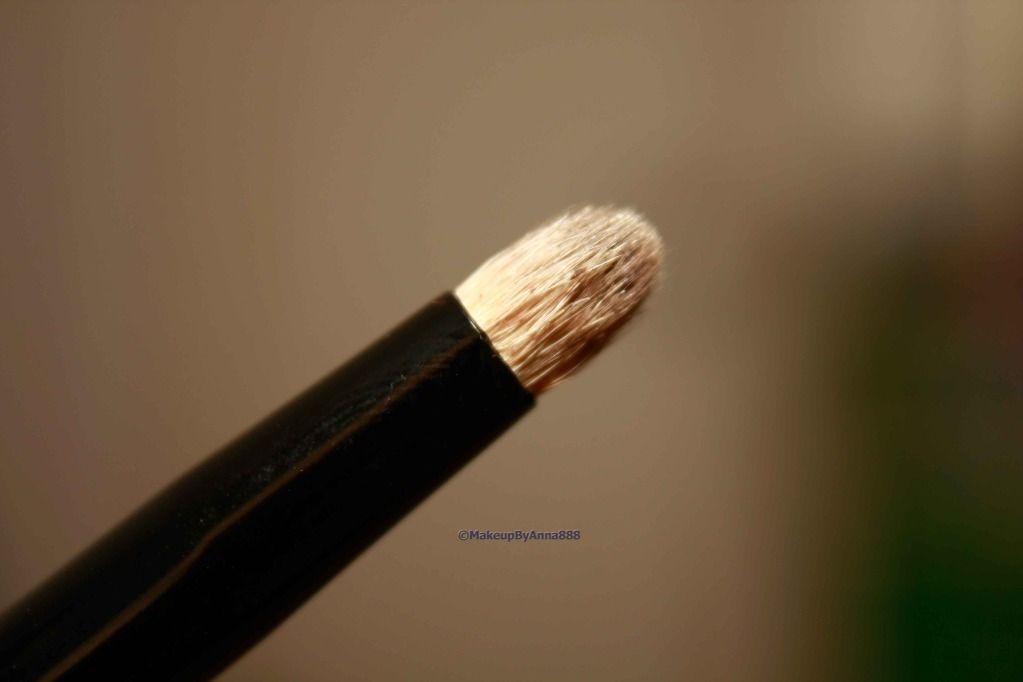
Using Charm Pro Precise Crease Blending Brush (or any brush that fits on the eye socket), pack on the color following the shape of the socket from the outer corner towards the inner corner. I'm using the eyeshadow Creep from the Urban Decay Naked 1 palette which is black with bits of shimmer.
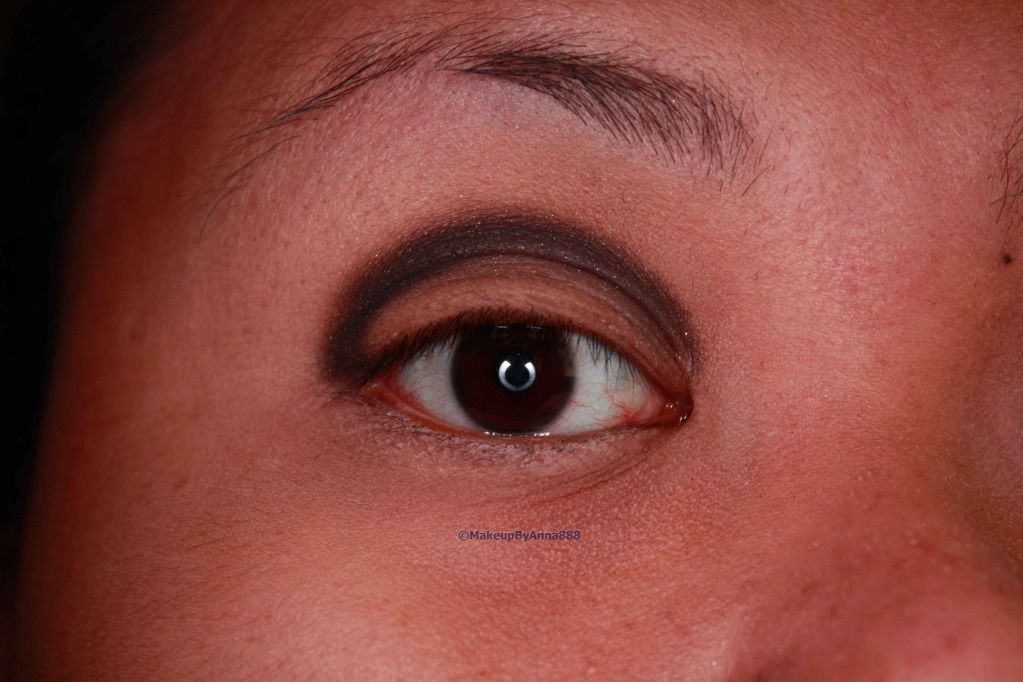
Blend the eyeshadow upwards using a blending brush (Charm Pro Tapered Blending Brush). I needed to bring the color above the crease due to my hooded eye lid.

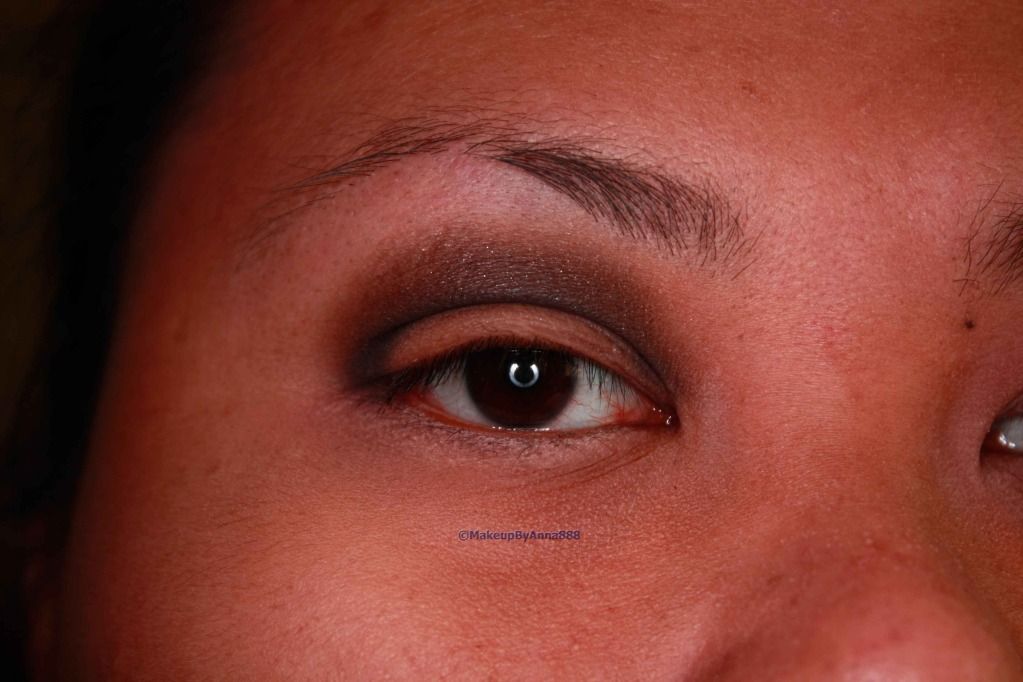
Using the same blending brush, I added some highlight on the brow bone meeting the color below it. Here I used a bit of Virgin from the Naked palette.
With a flat shader brush like this Charm Pro Shader Brush, pat on the color on the lid building the color.

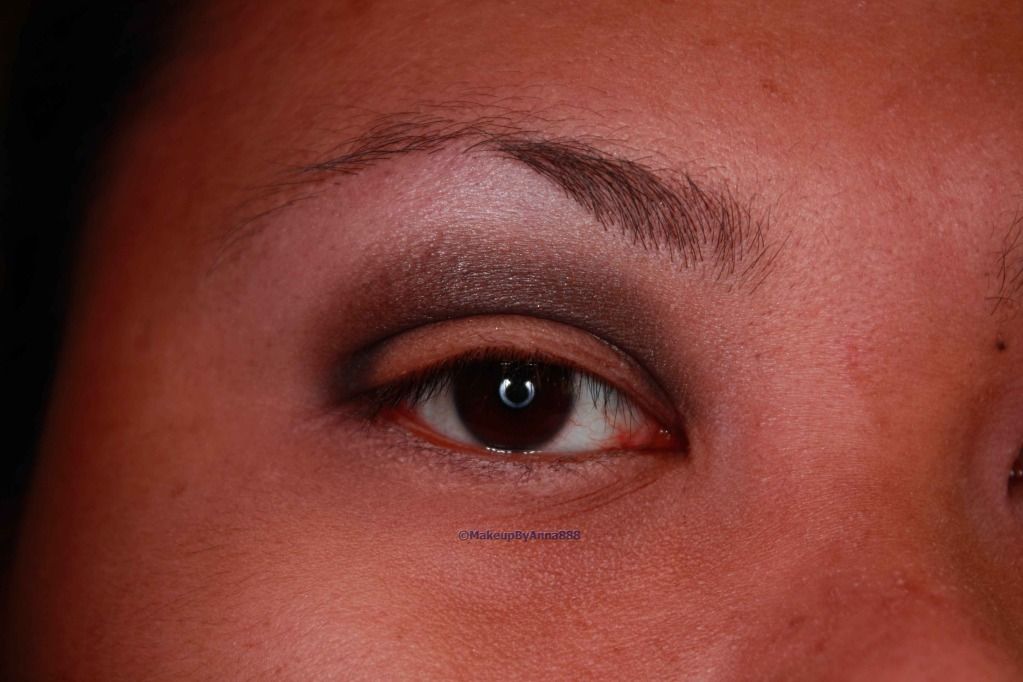
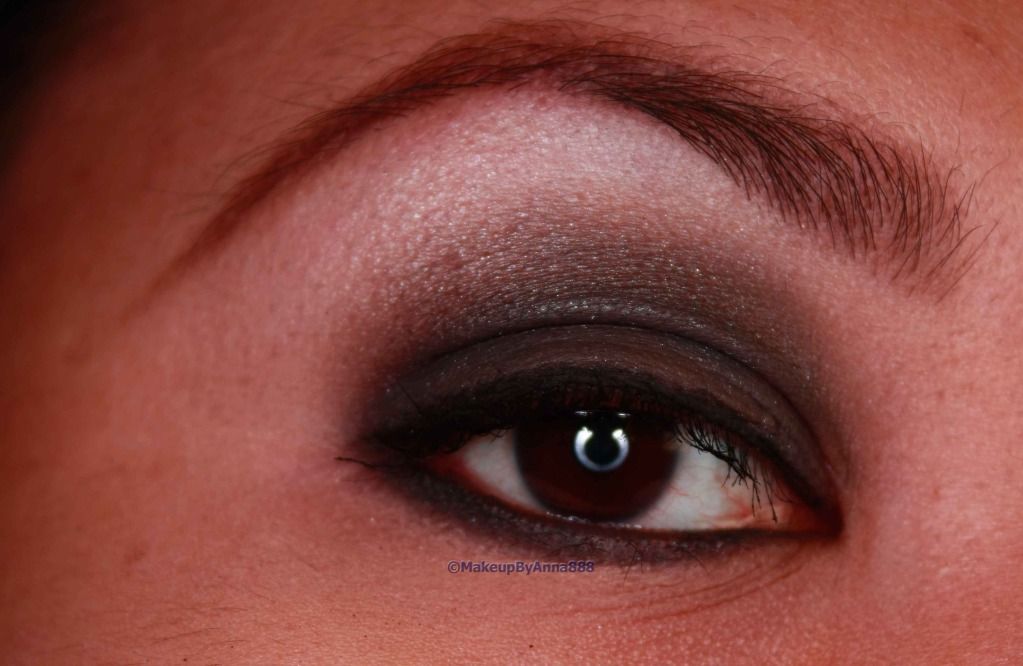
I lined the upper lash line with my Dollface black gel liner using a synthetic angle brush like this one from my Charm Pro brush kit. Liner was done as close to the lash line as possible. I also did my brows using my In2It Waterproof Eyebrow Liner in WB02 Dark Brown. (Excuse the patches on the lid as my eye started to water at this point)
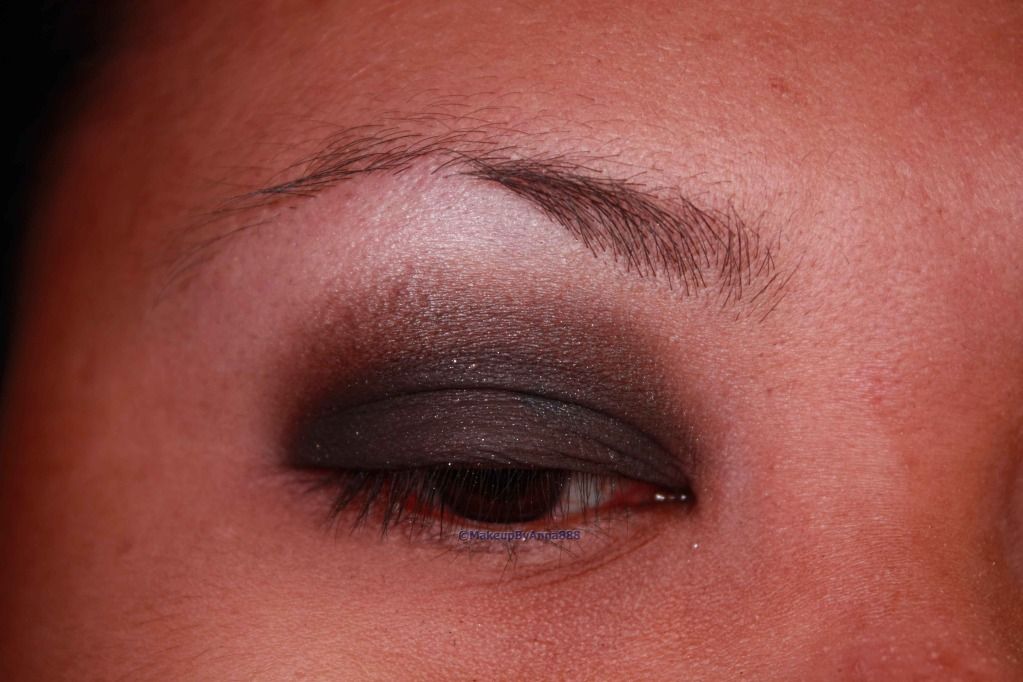
To finish the eye, I lined the bottom lash line and waterline with my Urban Decay 24/7 Glide On Eye Pencil in Zero. Then using my Charm Pro Pencil Point brush I smudge the liner with some Creep on top. Curled my lashes using my Fanny Serrano eyelash curler and applied Revlon Grow Luscious by Fabulash Mascara.
So this is my quick way of doing smoky eyes. Hope this is helpful to you guys. xoxo
Please do more tutorials..u r making things look so simple~
ReplyDeleteThank you :)
DeleteYaaaaaay thanks for the tutorial :) i also have the charm pro brush set. I must say it's amazing and i have no regrets in purchasing it :))
ReplyDeleteYou're welcome :) I love my Charm Pro Brush set! This is what I used in makeup school and I think it is the most affordable brush kit offering a wide variety of brushes that is locally available. I've been manhandling them for the last 2 yrs. I can vouch for their quality and durability. :)
Delete